K3s is an open-source, lightweight Kubernetes distribution by Rancher that was introduced this year and has gained huge popularity. If you’re not familiar with it, check out this post on k3s vs k8s by Andy Jeffries, CTO at Civo. People not only like the concept behind it, but also the awesome work that the team has done to strip down the heavy Kubernetes distribution to a minimal level. Though k3s started as a POC project for local Kubernetes development, its development has led people to use it even at a production level.
Official GitRepo: **https://github.com/rancher/k3s**
Seeing the popularity of k3s, many developers/companies have started building products around k3s. CIVO cloud has come up with a cloud offering for First-Ever Managed k3s Kubernetes cluster.
CIVO Kubernetes Offering: CIVO cloud has created a lightweight Kubernetes managed cluster offering. Let us take a walk through some of the features of this managed k3s cluster and deploy a sample application.
NOTE: Before proceeding make sure you have the following:
- A Civo cloud account (they also have a 50$ free credit), you can sign up here.
- Civo cli tool installed: Civo cli is a command-line tool for interacting with resources in Civo Cloud. It's very handy and useful as you do not need to go to UI and can do most of the tasks from the Civo cli itself. For installation, you Need Ruby Installed in your machine (v 2.0.0 or later) and then run :
sudo gem install civo_cli
For more info visit: https://github.com/civo/cli
K3s Cluster: Civo Cloud has a managed k3s Kubernetes cluster offering and we can spin up the whole cluster using civo cli itself
Step1: Civo cli account setup using api keys
civo apikey add saiyam <yourkey>
 Saved the API Key
 <yourkey> as Demo_Test_Key
you can find your api key from: cloud account settings > Security > API Key (https://www.civo.com/account/security)
Set the apikey as the default key to connect to Civo resources:
civo apikey current saiyam
You can list all stored API keys in your configuration by invoking civo apikey list or remove one by name by using civo apikey remove apikey_name
Step2: Create a Kubernetes Cluster using CIVO cli
command: civo kubernetes create civofirst --wait --save

Building new Kubernetes cluster civofirst: Done
Created Kubernetes cluster civofirst in 01 min 30 sec
Merged config into ~/.kube/config

command: civo kubernetes list
 cluster created
 From UI
While creating the cluster using civo CLI you have a few options that can be provided : wait: spins until the cluster comes in ready state save: saves the kubeconfig file nodes: the number of nodes to be created, by default 3 nodes are created and master is counted as a node. size: the size of the nodes, default size is g2.medium
So that is it you have just launched a 3 node k3s cluster running Kubernetes version 1.14
k3s Deployment and service:
Now that we have created k3s cluster lets see some basic deployment of nginx image and exposing it as a service.
kubectl get nodes

NAME               STATUS   ROLES    AGE   VERSION

kube-master-3872   Ready    master   29m   v1.14.6-k3s.1

kube-node-6052     Ready    worker   29m   v1.14.6-k3s.1

kube-node-eaf0     Ready    worker   26m   v1.14.6-k3s.1

kubectl get pods --all-namespaces

NAMESPACE     NAME                    READY   STATUS      RESTARTS   AGE

kube-system   coredns-b7464766c-89nrt      1/1     Running     0          29m

kube-system   helm-install-traefik-g59pl   0/1     Completed   0          29m

kube-system   svclb-traefik-689lv          2/2     Running     0         29m

kube-system   svclb-traefik-bhg8h          2/2     Running     0          29m

kube-system   svclb-traefik-xpf46          2/2     Running     0         27m

kube-system   traefik-5c79b789c5-ns6xj     1/1     Running     0          29m
Now let us deploy a sample nginx application, service, and ingress:
Deployment: kubectl apply -f deploy.yaml
apiVersion: extensions/v1beta1
kind: Deployment
metadata:
  name: nginx-deployment
spec:
  replicas: 2
  selector:
    matchLabels:
      app: nginx
  template:
    metadata:
      labels:
        app: nginx
    spec:
      containers:
        - image: nginx
          name: nginx-container
Service: kubectl apply -f svc.yaml
apiVersion: v1
kind: Service
metadata:
  name: nginx-service
spec:
  ports:
    - name: http
      port: 8080
      targetPort: 80
  selector:
    app: nginx
  type: LoadBalancer
Ingress: kubectl apply -f ingress.yaml
apiVersion: extensions/v1beta1
kind: Ingress
metadata:
  name: nginx-ingress
  annotations:
    kubernetes.io/ingress.class: traefik
spec:
  rules:
  - host: nginx.localhost
    http:
      paths:
      - path: /
        backend:
          serviceName: nginx-service
          servicePort: http
Let us see what all has been created.
**kubectl get deploy**

NAME                   READY   UP-TO-DATE   AVAILABLE   AGE
nginx-deployment       2/2     2            2           4m3s

kubectl get svc

NAME            TYPE           CLUSTER-IP        EXTERNAL-IP                              PORT(S)          AGE

kubernetes      ClusterIP      192.168.128.1     <none>                                   443/TCP          153m

nginx-service   LoadBalancer   192.168.139.191   172.31.3.106,172.31.3.157,172.31.3.159   8080:30051/TCP   3m16s

kubectl get ingress

NAME            HOSTS             ADDRESS        PORTS   AGE

nginx-ingress   nginx.localhost   172.31.3.106   80      3m44s
Now open the browser and access the service by NodeIp:30051
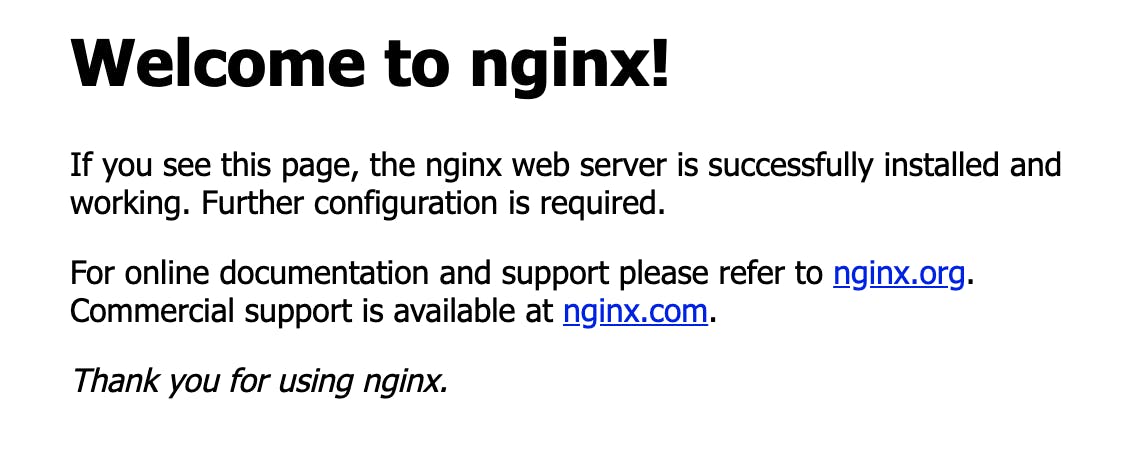
You have deployed a sample application and created a service accessible from the internet within minutes with prepackaged ingress controller -> Traefik that comes packaged with k3s managed Kubernetes cluster by Civo cloud.
Civo cli commands :
Scaling the cluster: Cluster can be scaled up to the quota and down to 1 via UI or civo cli
civo kubernetes scale civofirst --nodes=4

Kubernetes cluster civofirst will now have 4 nodes
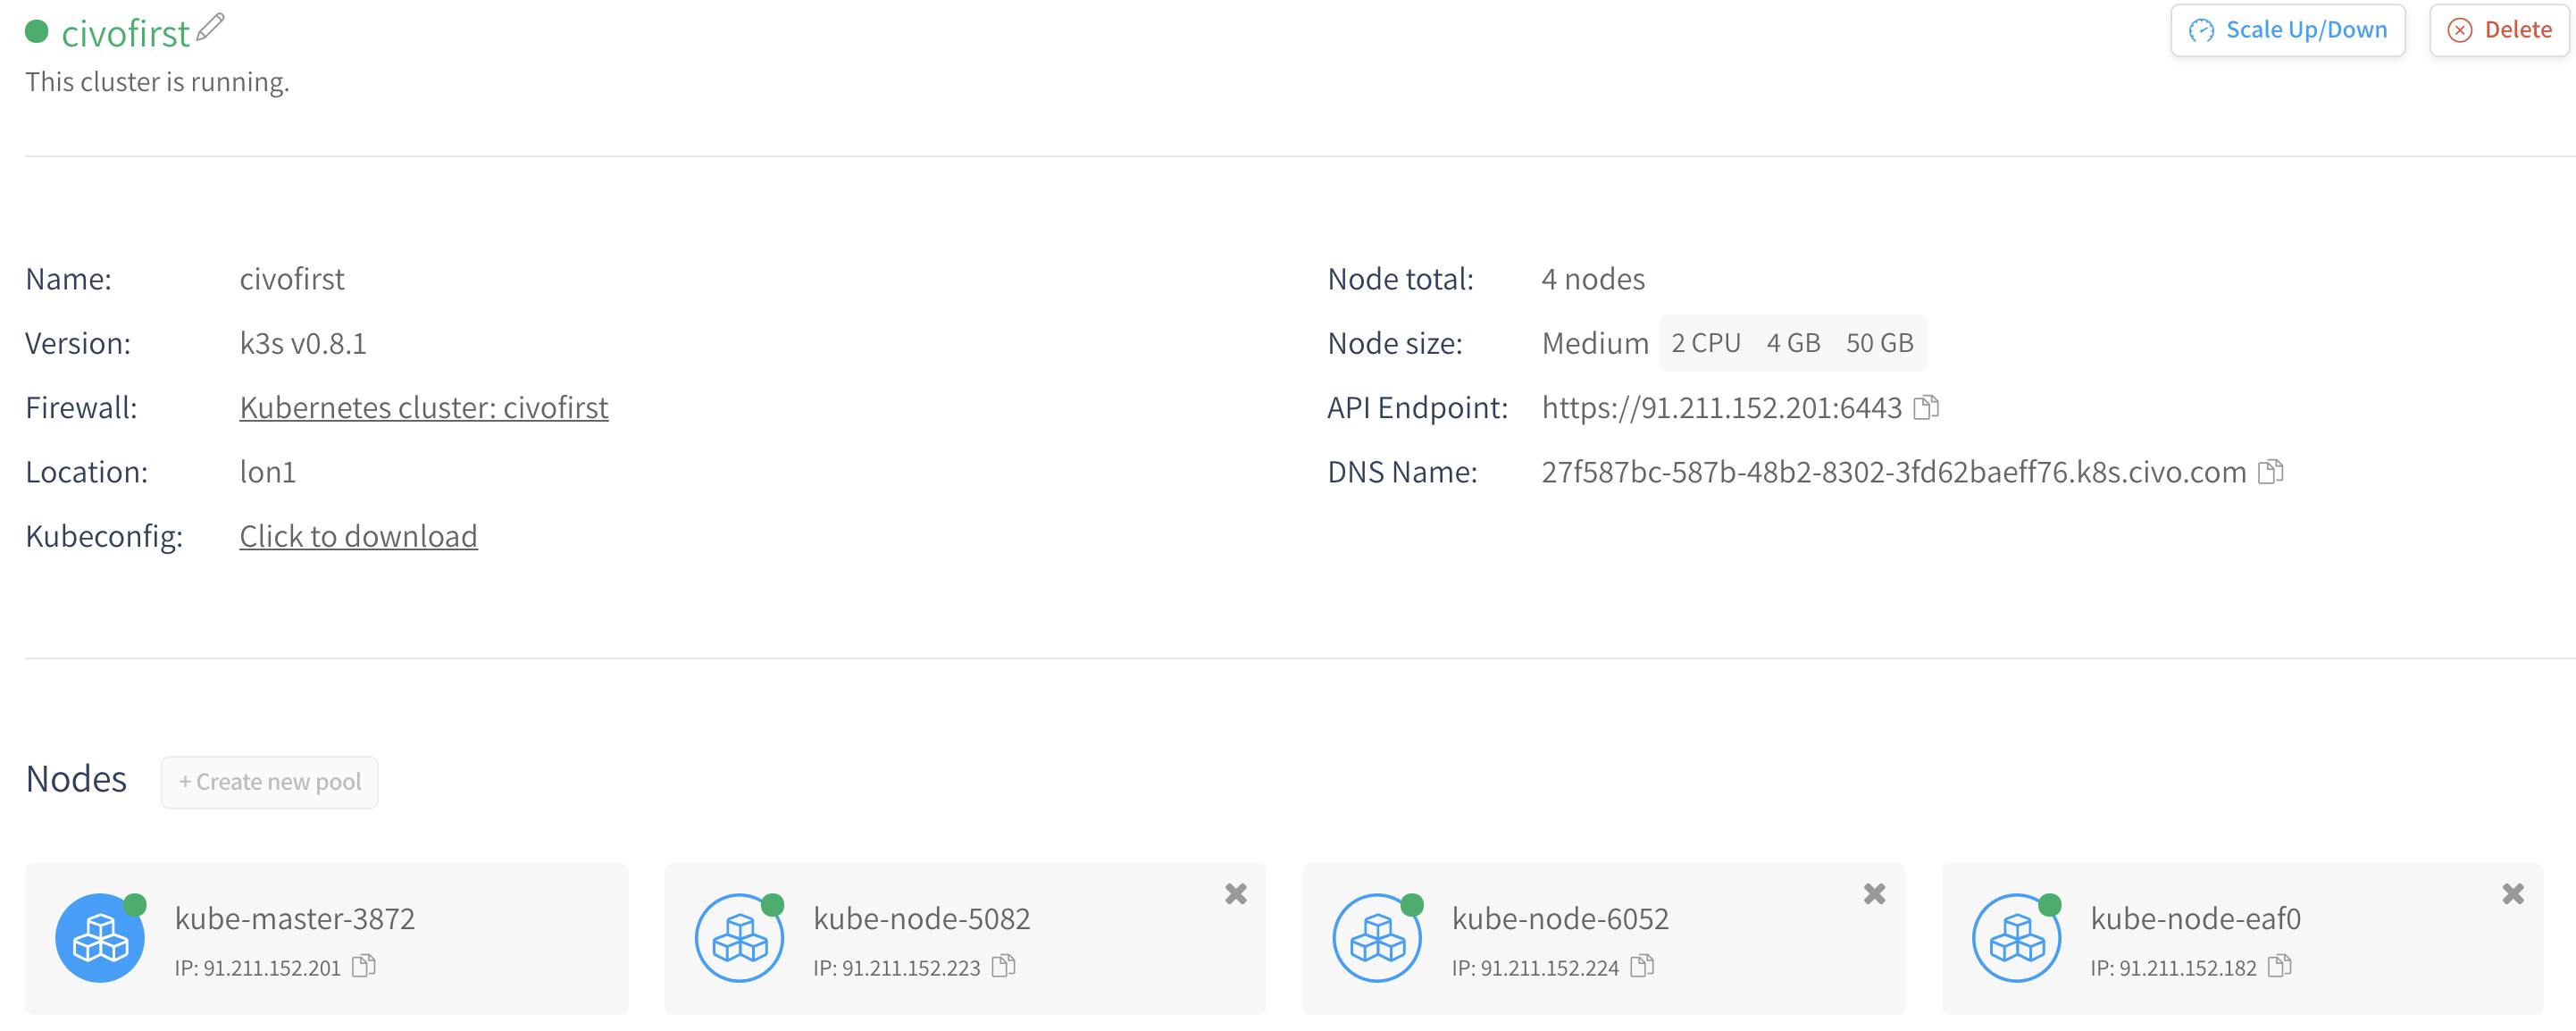 UI
UI
Renaming the cluster:
civo kubernetes rename civo --name="Prod"

Kubernetes cluster 27f587bc-587b-48b2-8302-3fd62baeff76 is now named Prod

Removing the cluster:
civo kubernetes remove Prod

Removing Kubernetes cluster Prod
Marketplace: Civo cloud has an extensive list of application with the one-click install from the UI. You can go to UI and select the app that you want to deploy to the cluster and it will be available within minutes. Let us try to deploy OpenFaas on k3s from the marketplace.
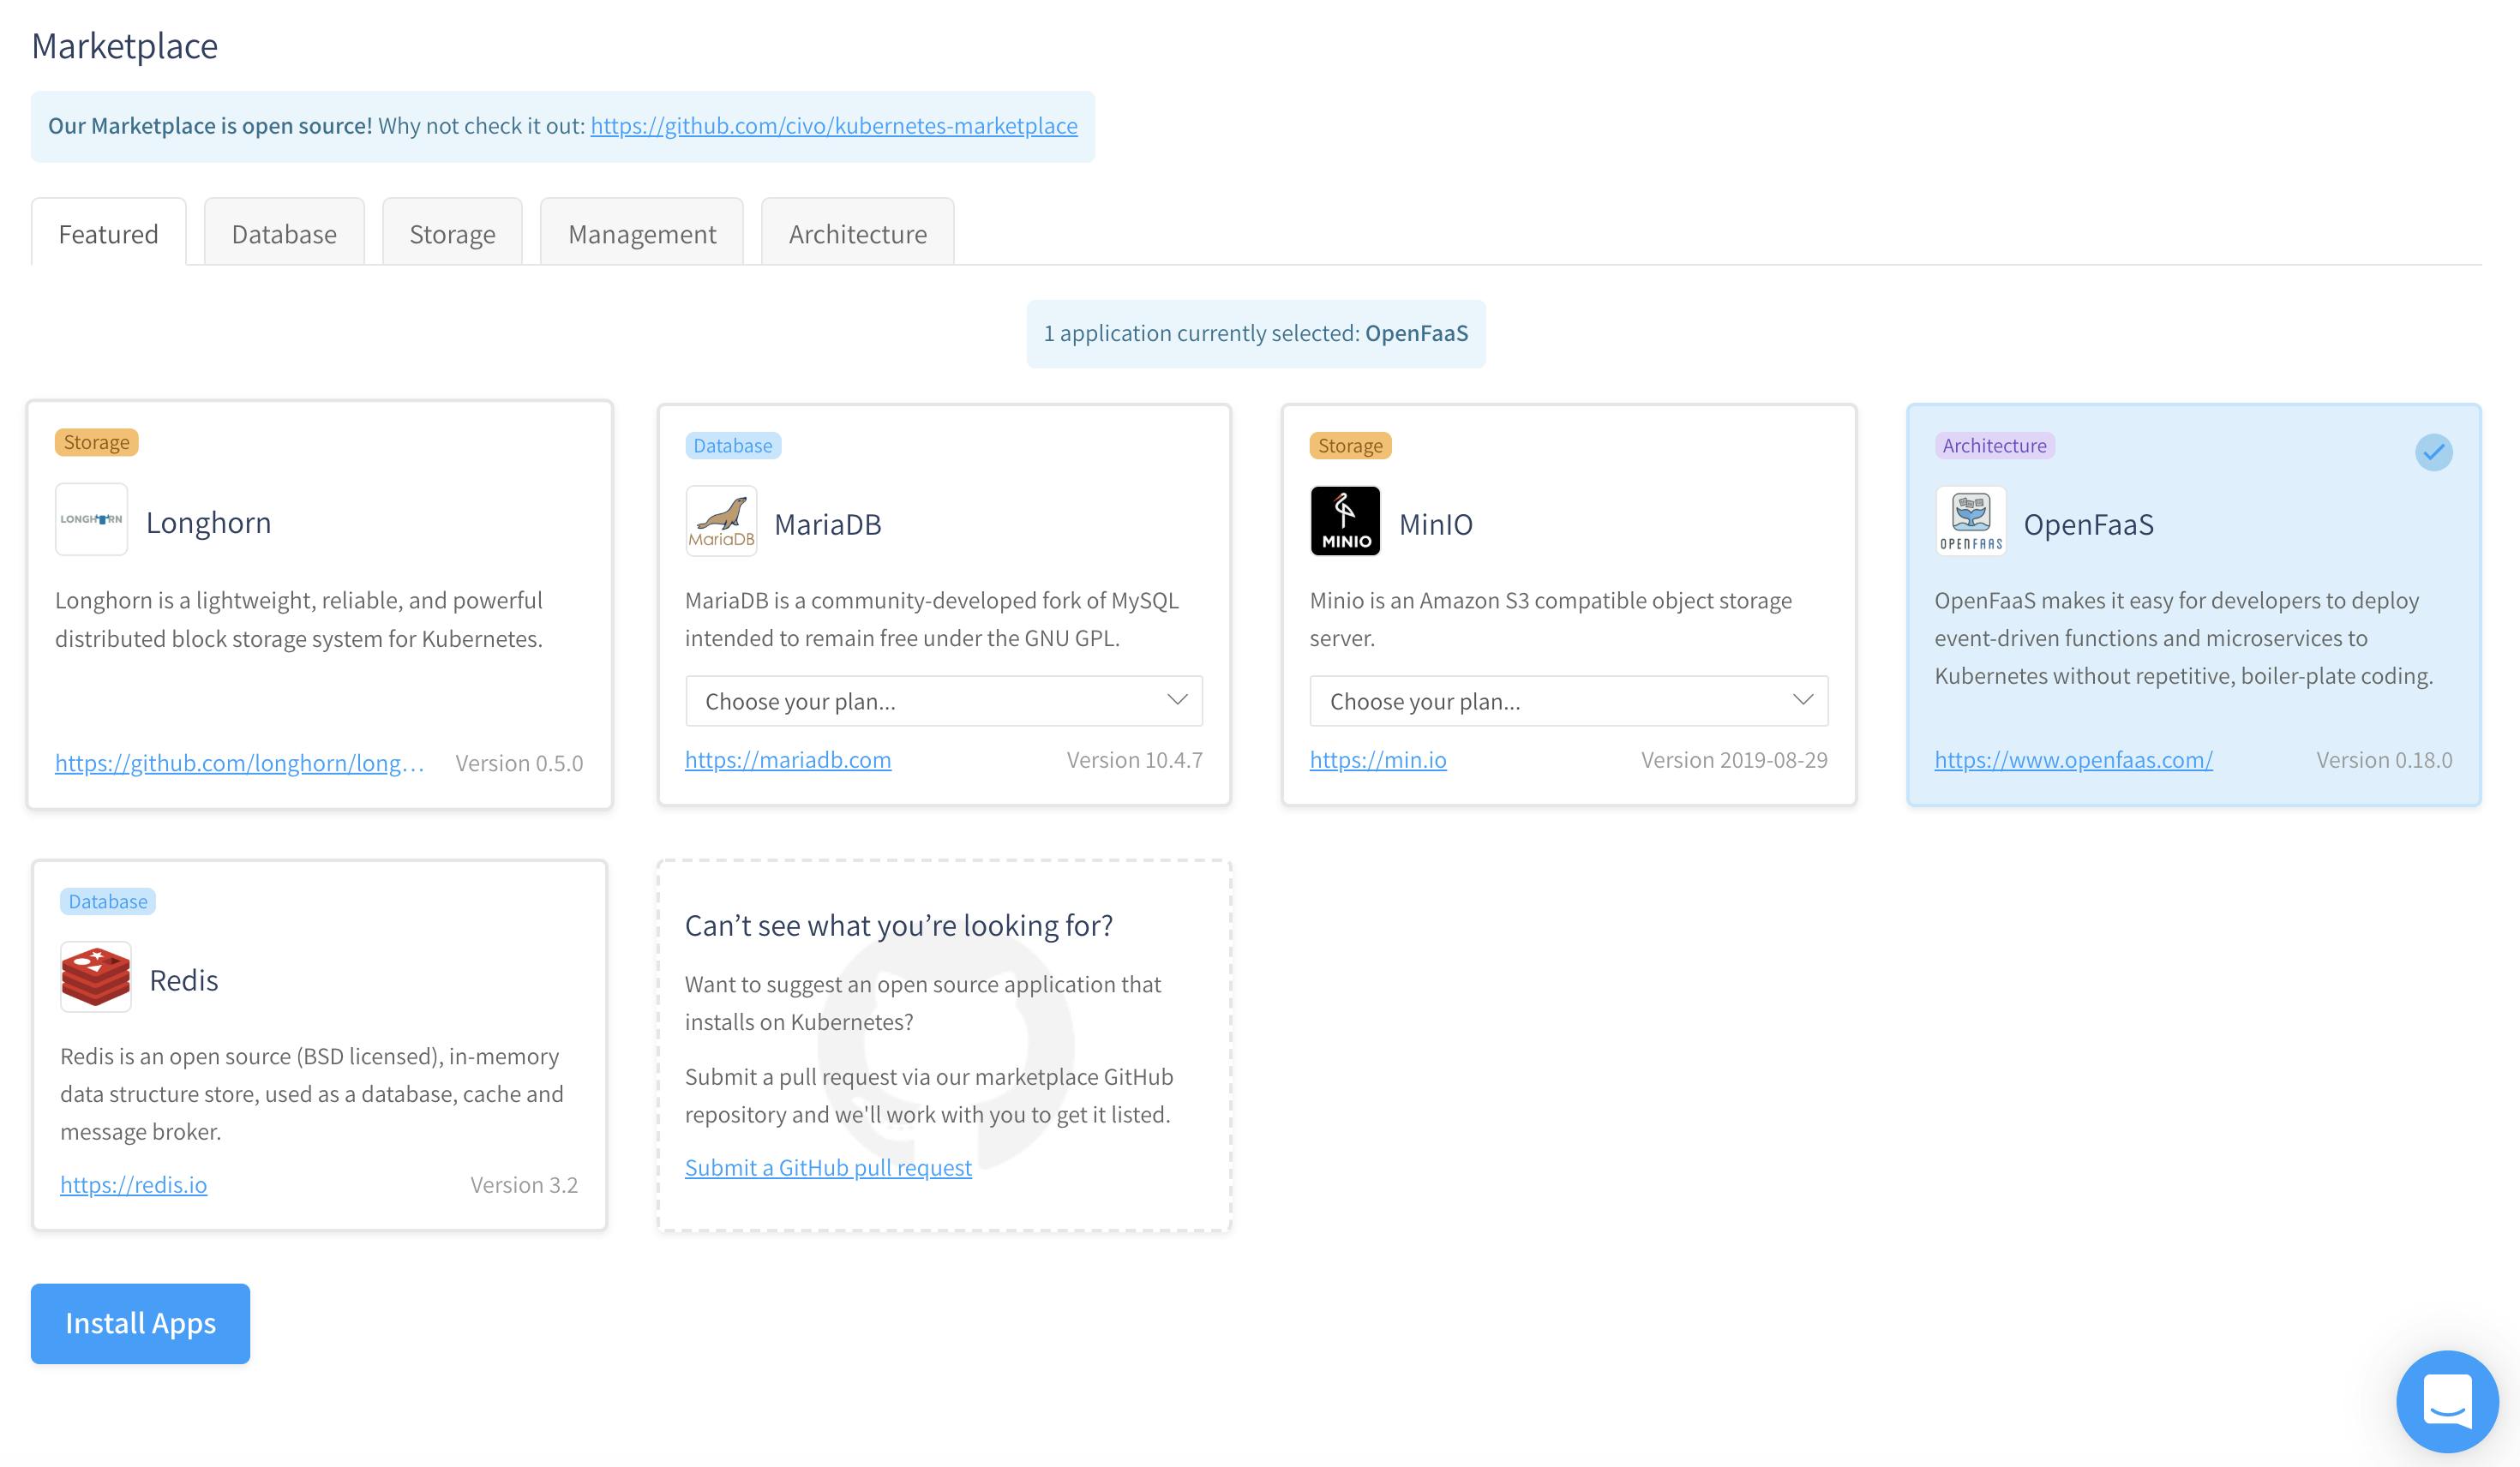
Select OpenFaaS and click Install Apps, within a few seconds you can see it appears in the Installed apps section with instructions as well to deploy a sample function.
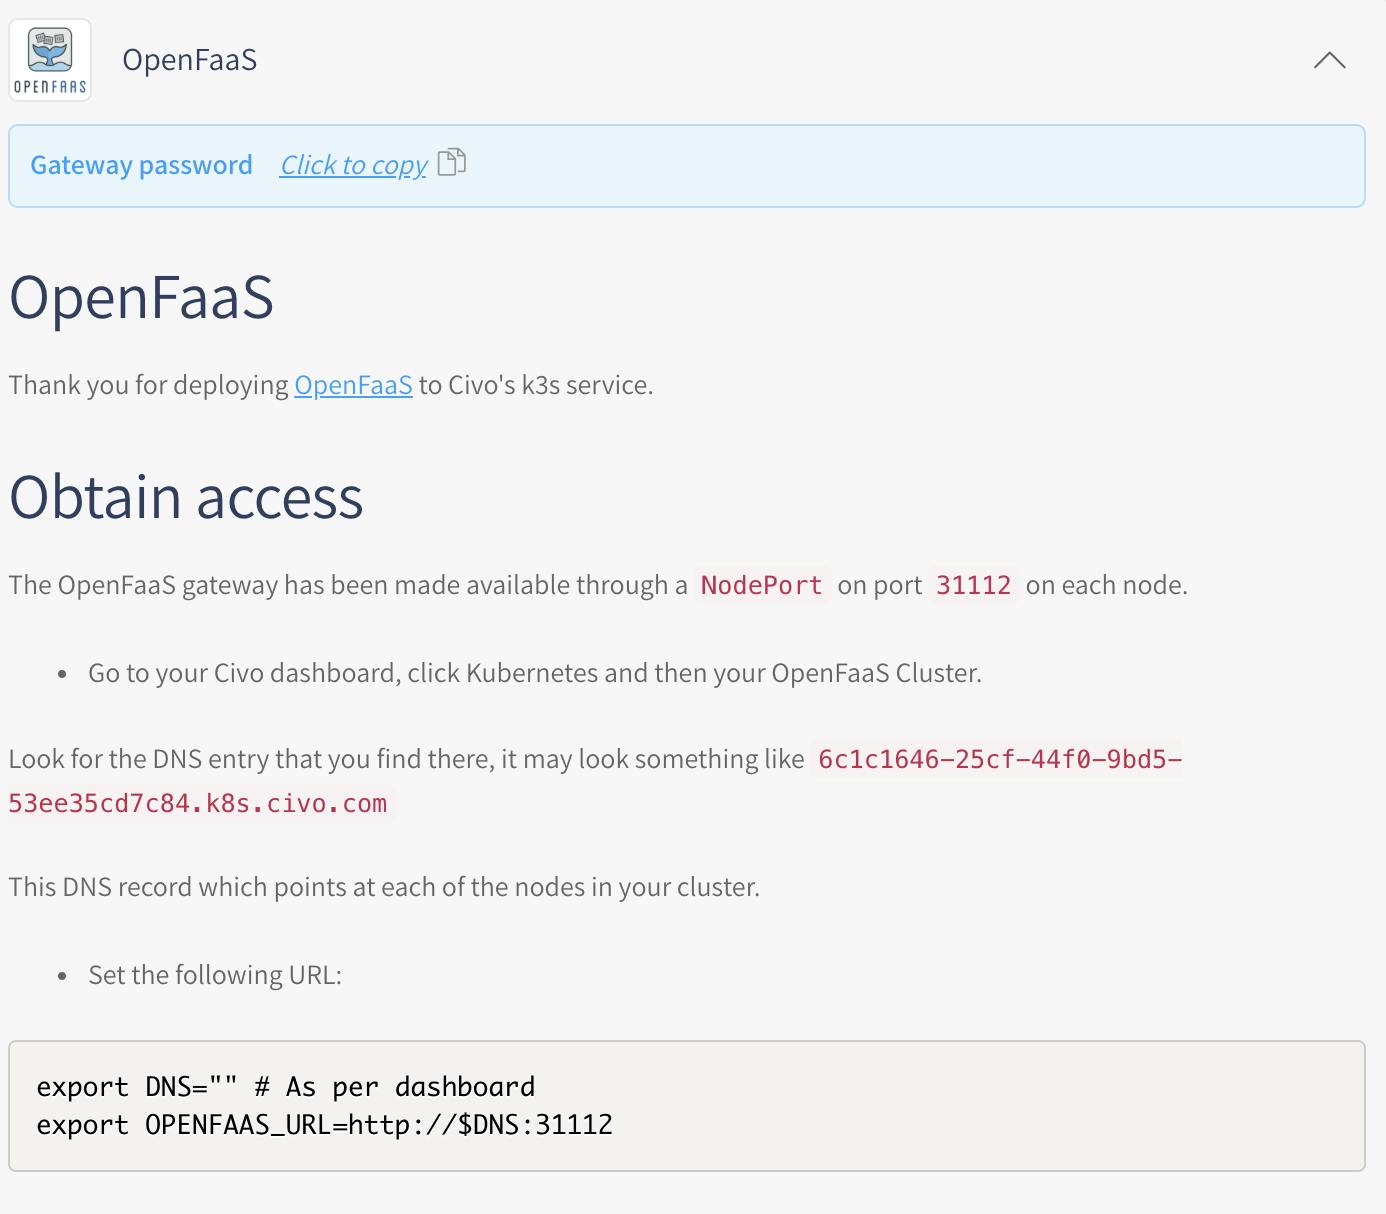
You can access the OpenFaaS UI by NODE_IP:31112 and enter the username/password.

Here we just deployed a sample colorise function to convert image to black & white image.
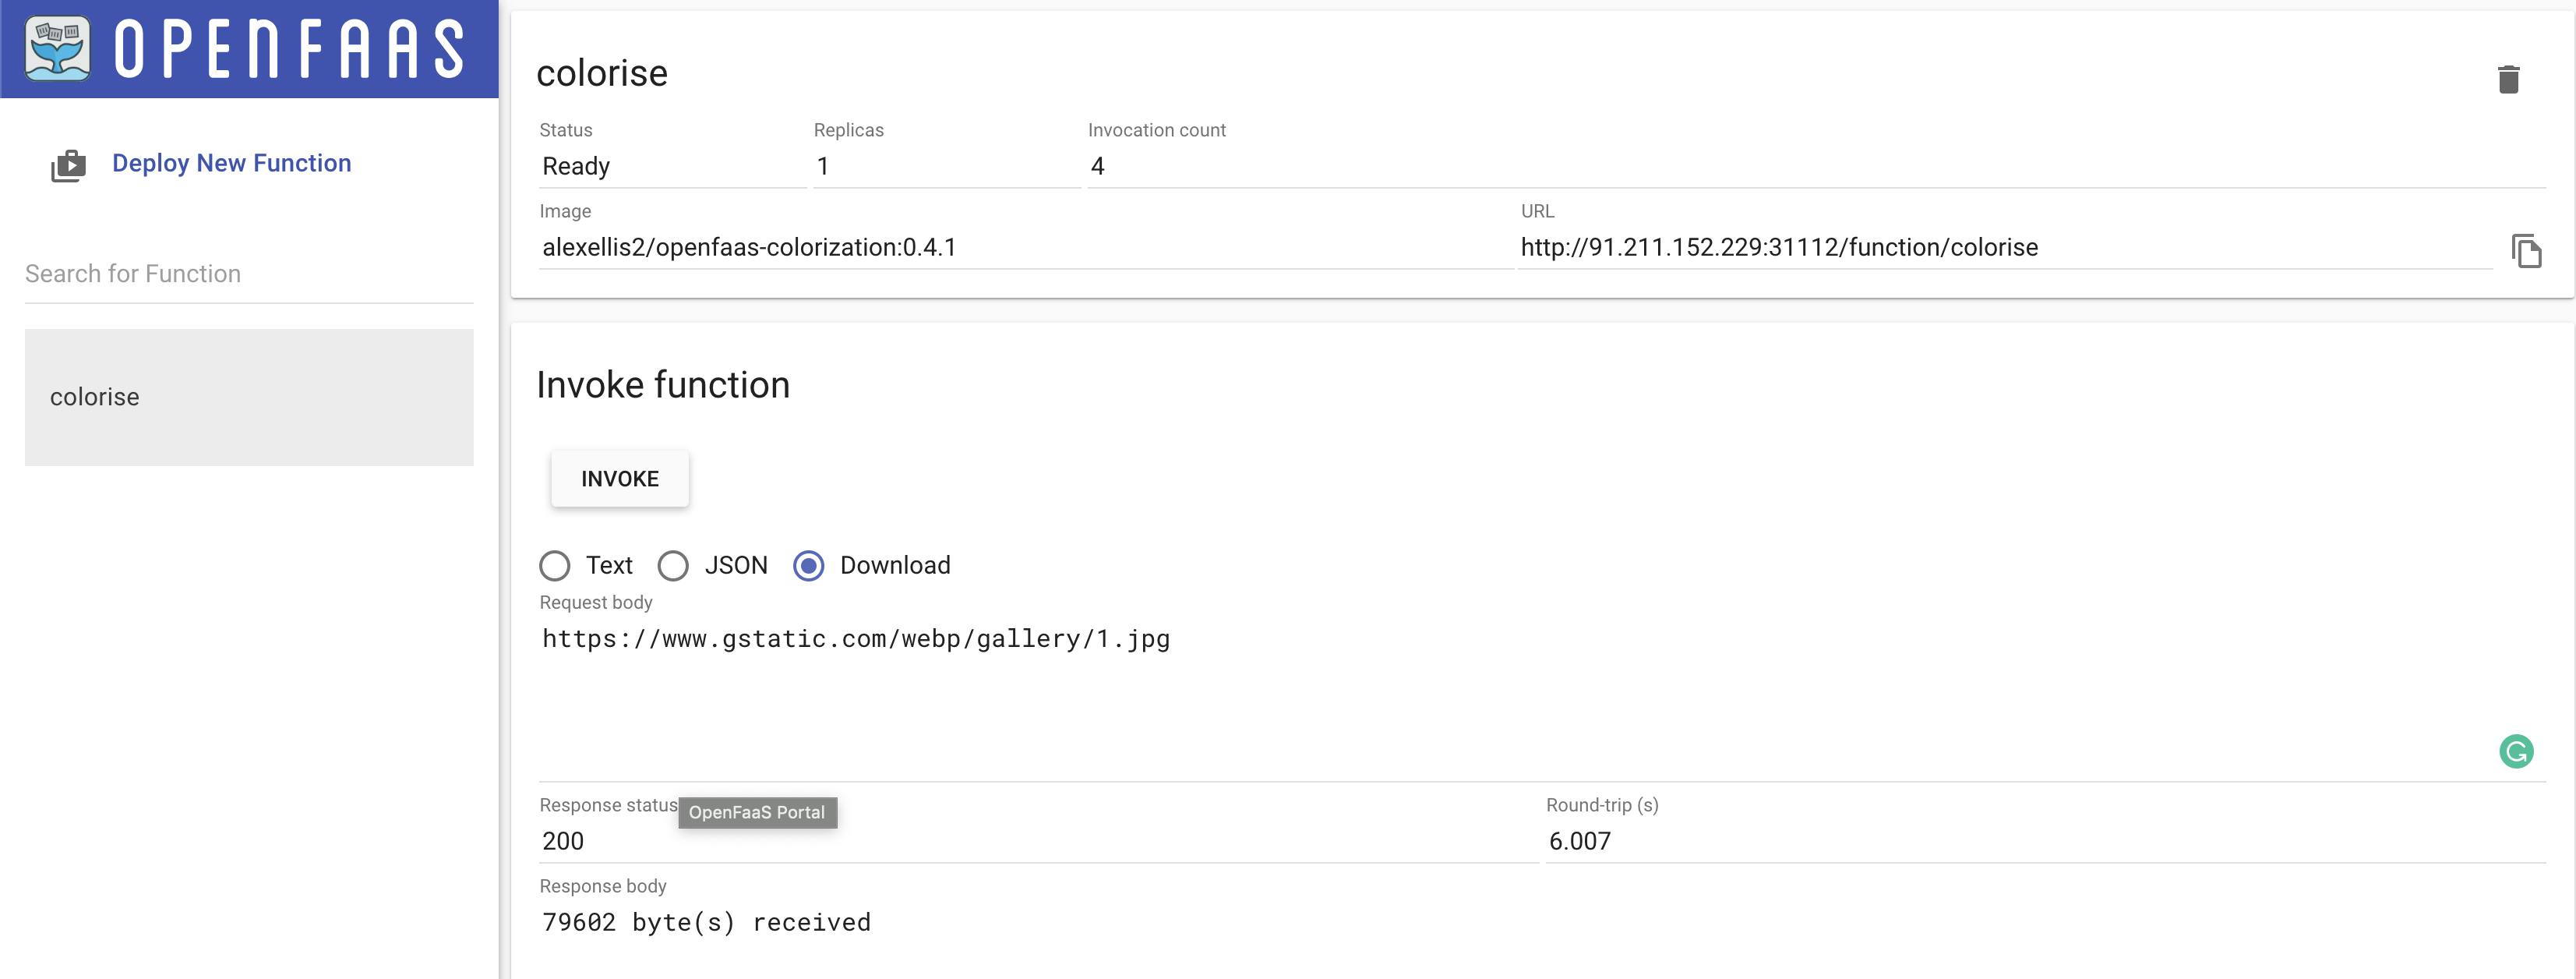
From the command line, you can see below objects created in k3s cluster when you deployed the OpenFaaS application from the marketplace.
kubectl get all -n openfaas

NAME                                     READY   STATUS    RESTARTS   AGE

pod/alertmanager-85864b8547-qb5zb        1/1     Running   0          27m

pod/basic-auth-plugin-85994747dd-rvfds   1/1     Running   0          27m

pod/faas-idler-6568bb4c9b-5xfjz          1/1     Running   2          27m

pod/gateway-dcdd5b79c-rnfdj              2/2     Running   0          27m

pod/nats-d4c9d8d95-fjw89                 1/1     Running   0          27m

pod/prometheus-855d56876d-txscc          1/1     Running   0          27m

pod/queue-worker-56b64d6848-48b7w        1/1     Running   0          27m

NAME                        TYPE        CLUSTER-IP        EXTERNAL-IP   PORT(S)          AGE

service/alertmanager        ClusterIP   192.168.214.254   <none>        9093/TCP         27m

service/basic-auth-plugin   ClusterIP   192.168.162.218   <none>        8080/TCP         27m

service/gateway             ClusterIP   192.168.146.141   <none>        8080/TCP         27m

service/gateway-external    NodePort    192.168.212.52    <none>        8080:31112/TCP   27m

service/nats                ClusterIP   192.168.164.158   <none>        4222/TCP         27m

service/prometheus          ClusterIP   192.168.194.224   <none>        9090/TCP         27m

NAME                                READY   UP-TO-DATE   AVAILABLE   AGE

deployment.apps/alertmanager        1/1     1            1           27m

deployment.apps/basic-auth-plugin   1/1     1            1           27m

deployment.apps/faas-idler          1/1     1            1           27m

deployment.apps/gateway             1/1     1            1           27m

deployment.apps/nats                1/1     1            1           27m

deployment.apps/prometheus          1/1     1            1           27m

deployment.apps/queue-worker        1/1     1            1           27m

NAME                                         DESIRED   CURRENT READY   AGE

replicaset.apps/alertmanager-85864b8547        1         1         1       27m

replicaset.apps/basic-auth-plugin-85994747dd   1         1         1       27m

replicaset.apps/faas-idler-6568bb4c9b          1         1         1       27m

replicaset.apps/gateway-dcdd5b79c              1         1         1       27m

replicaset.apps/nats-d4c9d8d95                 1         1         1       27m

replicaset.apps/prometheus-855d56876d          1         1         1       27m

replicaset.apps/queue-worker-56b64d6848        1         1         1       27m
Summary: Civo Kubernetes service is lightweight k3s managed cluster for production-ready workloads, currently in beta as they are improving the features based on community feedback via the KUBE100 program. Things we discussed in this article:
Introduction to k3s and managed k3s
Civo CLI
Cluster creation/scaling/renaming/removing using Civo cli
Deploying a sample application & exposing it to the outside world
Deploying OpenFaaS application from Marketplace

